Building of TDO (The Dam Observatory), or how to build an observatory for $600!
Building an observatory had nothing to do with a dream of wanting a world class observating facility, it is quite different. Although I wouldn't call it lazy, I dreaded telescope set up and tear down, to the point I wasn't using it. There has to be a fix! Turns out, the solution is to spend countless hours designing and building TDO.
The idea was hatched after digging around on the net looking for solutions to copy. There are obviously ready-made observatories (SkyShed) as well others, but they were all well above my budget, and their survivability of 70+ mph winds and -40 weather were questionable at best. The next option was building one from the ground up, which was quickly scrapped when I decided my building skills probably weren't trustworthy enough. I ended up settling on a combination, building an interior frame, and using a Rubbermaid mini roll-off roof shed for the 'siding'
Groundbreaking day: 4/1/17
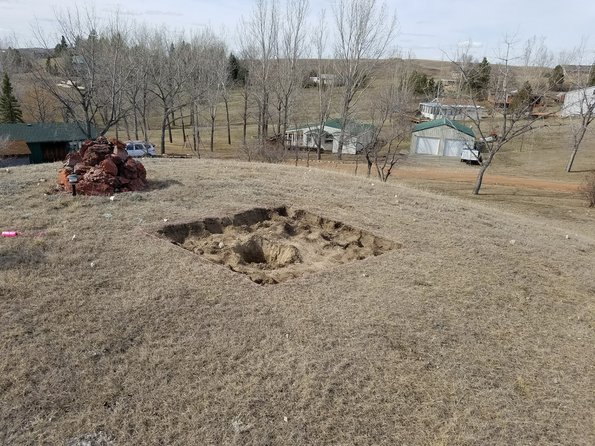
And I thought this was going to be the majority of the manual labor. I was wrong.
Framing: 4/8/17
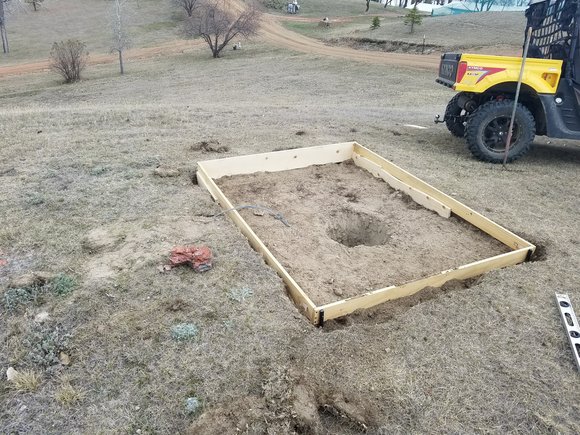
Notice the hole for the pier... See anything wrong with it? I didn't either, yet.
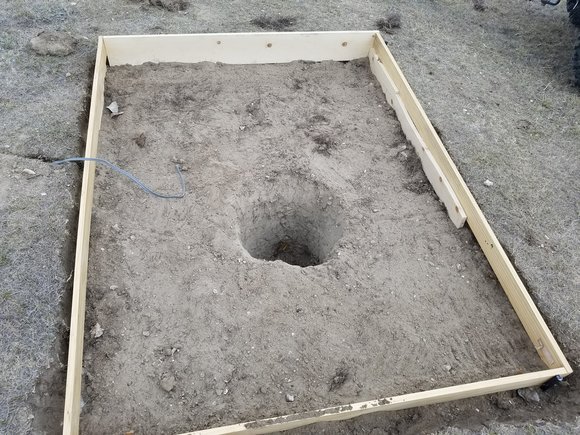
And now electrical is trenched in. No pics, but 100 feet of 10/2 electrical trenched into what is essentially a gigantic rock pile. Back breakingly slow doesn't begin to describe it. And still something bothering me about the pier hole...
5/13/17: Cement!
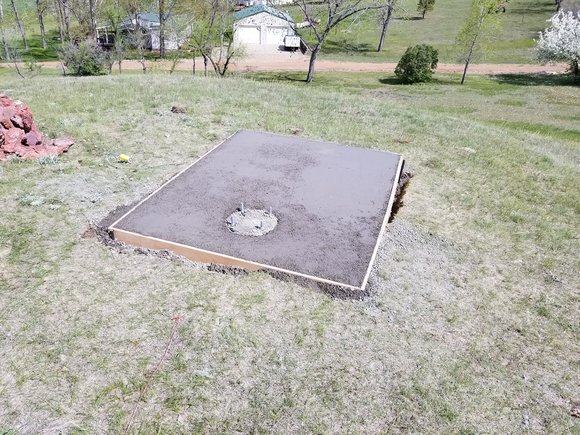
20 some bags of 80# fiber mesh quikcrete later, we have a pad! Notice the pier mount? Very sturdy, 40 inches down, the threaded rods extend 24 inches and are bent at a 90 degree angle at the end for extra strength. Also, it took until this step to realize that putting the pier in the center of a roll off is not a good idea. Had to fill in pier hole #1 and relocate to location #2. Did I mention this is essentially on top of a giant rock pile? Lots of fun digging that hole out, again.
The pier:
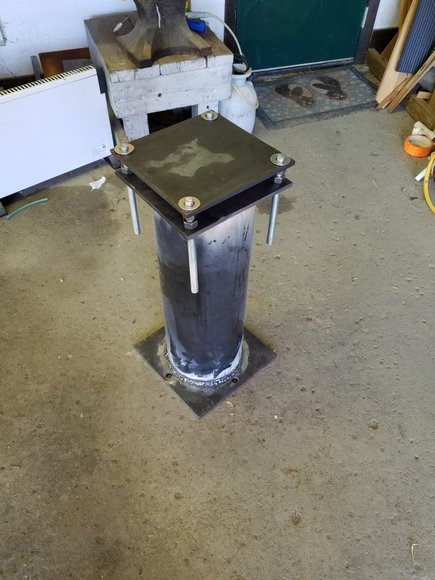
What is an observatory without a pier? Well, a storage shed I guess... 150 pounds of american steel, courtesy of MetalsDepot and UPS. (Sorry UPS guy for the back problems) Also, another lesson learned is that the cheapest 120v HarborFreight stick welder doesn't really do a certifiable weld on 1/2" steel. I burnt through many, many rods, 99% of which is just laying on the metal. It isn't structural by any means, but I couldn't break it by beating on it with a hammer or jumping on it, so good enough for me!
The [nearly] finished observatory
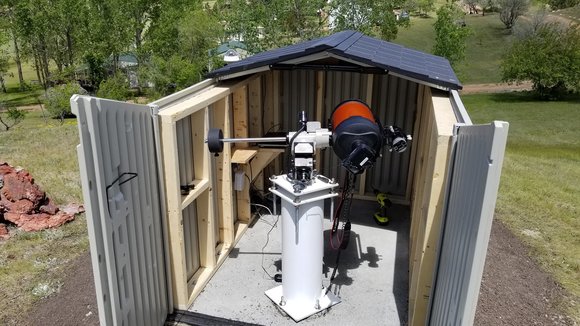
This was actually a dry-fit run, but close enough. Since this pic, the top plate of the pier has been raised to the maximum height to still allow roof movement, electrical fixtures added, and shelving installing.
Cost:
Shed: Rubbermaid sliding roof shed - $300
Pier: MetalsDepot $300 (8" SCH 40 (8.625 OD X .322 wall) A-500 ERW Structural Steel Pipe, 12x12 -1/2 X 2 Hot Rolled A-36 Steel Flat, 10x10-3/8 inch THICK A36 Steel Plate)
Concrete: $100 25 bags Quickrete 5000
Lumber: $70 - 20 construction grade 2x4's
Misc: $130 - Electrical, lock, vent, anchors/bolts
TOTAL: $600
Lessons learned:
- Measure twice, cut once. It isn't just a suggestion!
- Test fit often. Lots of steps, especially concrete, and not reversible or correctable.
- Overestimate your required materials by at least 50%.
- Do a test observing session prior to making anything permanent. You will learn things now while you can fix it.
- This observatory is designed to be 'humanless', so take stock of exactly where and when your scope setup needs human interaction. My first surprise was the finderscope. No chance of actually getting in position to use it, so the finderscope is now a laser pointer on an Orion bracket.
- You can never have too many USB ports. (telescope, guidescope, DSLR, all-sky, polarscope, focuser...)
- Cable management isn't nearly as easy at it should be.
- Expensive drill bits are worthless. Cheap HarborFreight unibits with cutting fluid are shockingly good.
- Keep in mind weather. In particular, how do you keep things clean & sealed. Lots of foam and weatherstripping had to be added that isn't in the pics to keep dirt out
